Manufacturing Defects vs. Installation Errors in Resin-Filled Pool Light Warranty Claims
Manufacturing Defects vs. Installation Errors in Resin-Filled Pool Light Warranty Claims
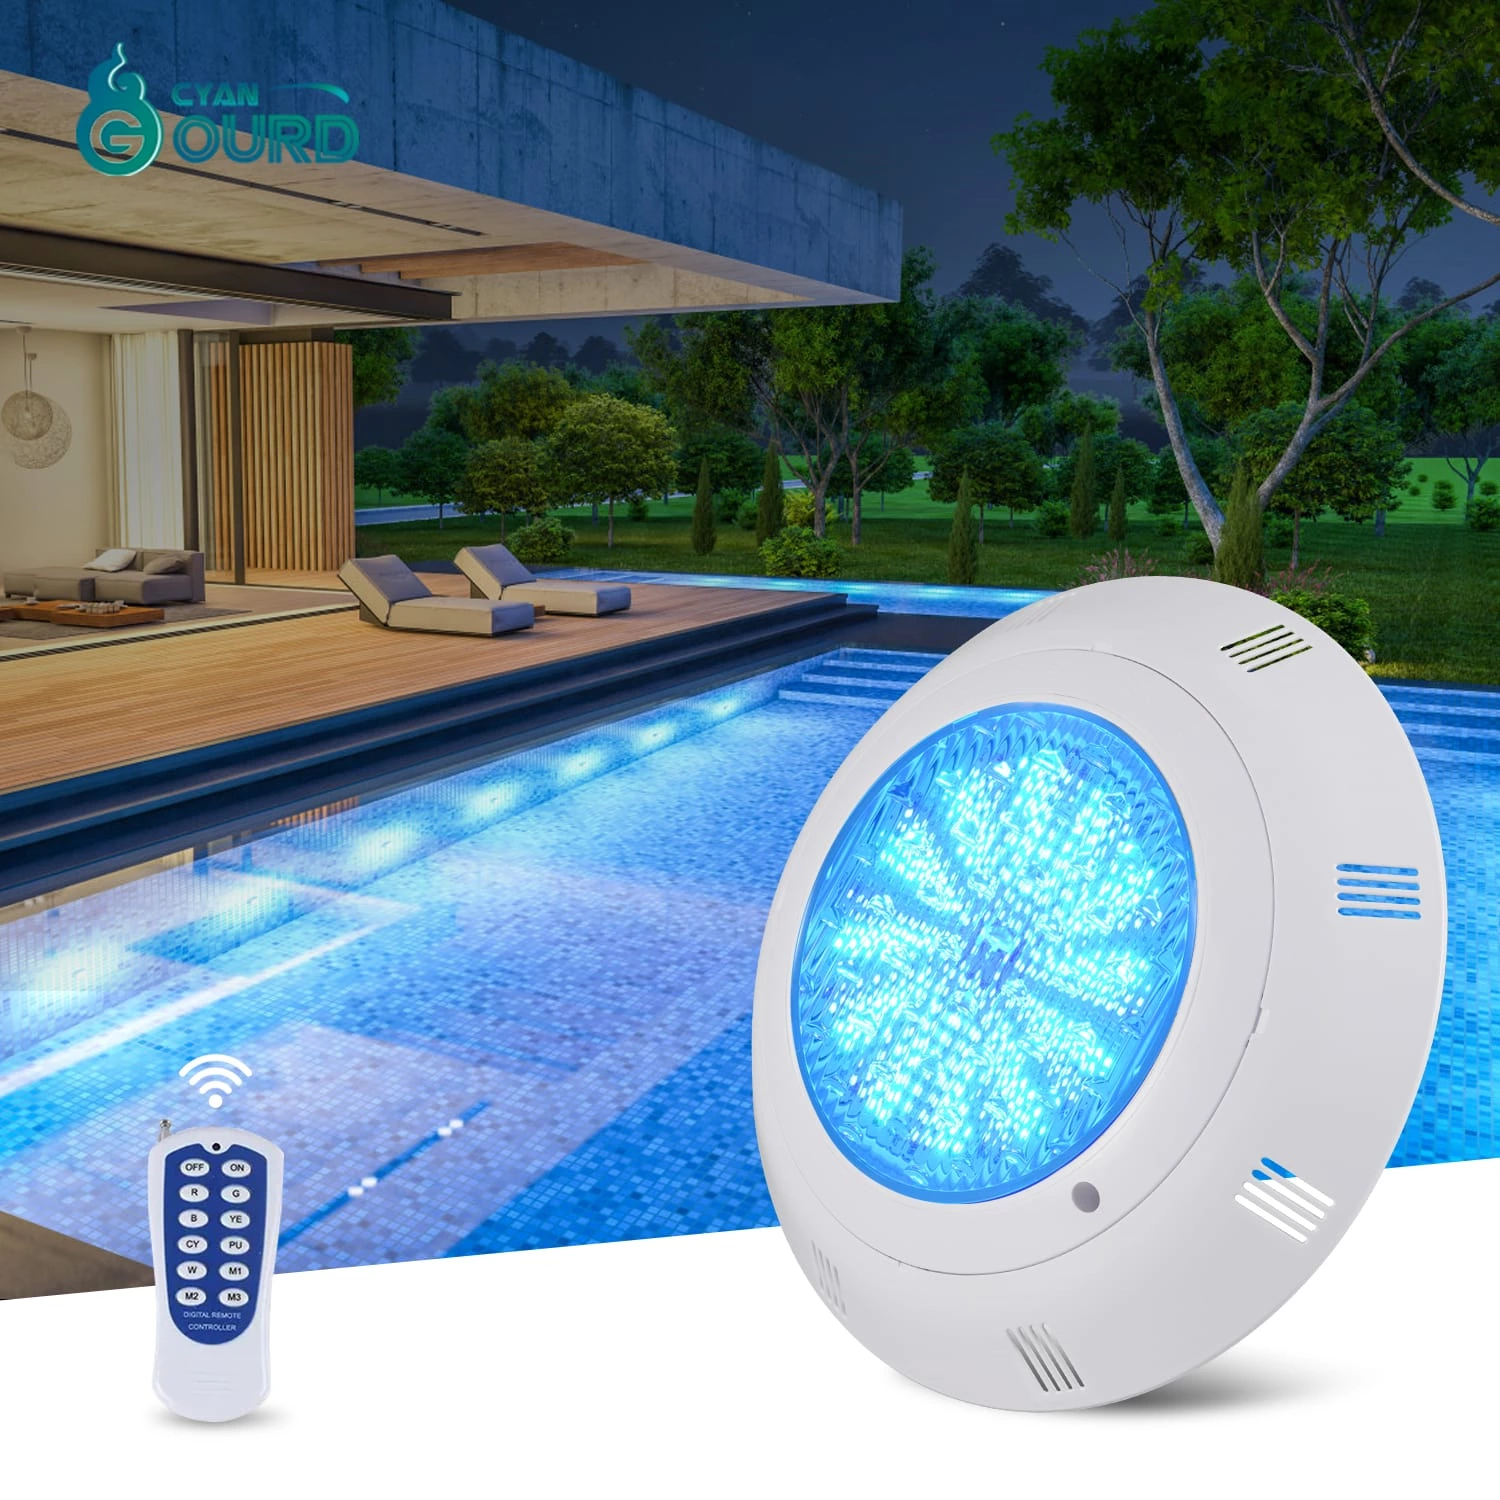
For B2B distributors and wholesalers of LED swimming pool lighting, effectively managing warranty claims is critical for maintaining profitability and supplier relationships. Resin-filled pool lights are renowned for their superior waterproofing capabilities, utilizing a fully encapsulated design to achieve an IP68 rating. However, when failures occur, distinguishing between a genuine manufacturing defect and an installation error is not always straightforward. Accurate diagnosis ensures that valid claims are processed efficiently while educating contractors on proper installation techniques to prevent future issues.
1. The Anatomy of Resin-Filled LED Pool Lights
To adjudicate warranty claims, one must understand the construction of the product. Unlike traditional air-filled lights that rely on rubber gaskets and compression, resin-filled lights involve potting the PCBA (Printed Circuit Board Assembly) and LEDs inside a solid block of epoxy or polyurethane resin. This design eliminates air voids, making the light virtually impervious to water pressure.
Because the internal components are permanently sealed, a failure is rarely due to a "loose seal" in the traditional sense. Instead, analysis focuses on material integrity, electrical inputs, and external connection points. Understanding this structure helps isolate whether the failure originated from the factory process or external environmental factors.
2. Signs of Genuine Manufacturing Defects
Manufacturing defects in resin-filled lights typically manifest early in the product's lifecycle. These issues stem from the production line and are covered under standard manufacturer warranties. Key indicators include:
- Incomplete Curing: If the resin mixture was incorrect, the potting may remain tacky or crack prematurely, compromising the waterproof barrier.
- LED Chip Failure: Dark spots or flickering sections within the first few hours of operation often indicate poor soldering or defective LED components prior to the resin pouring process.
- Internal Delamination: Visible separation between the resin and the outer housing (ABS or Stainless Steel) without signs of chemical attack suggests a bonding failure during manufacturing.
3. Common Installation Errors Masquerading as Defects
A significant portion of warranty claims for LED pool lights are traced back to installation errors. These failures are often catastrophic and are not the responsibility of the manufacturer. Distributors should look for the following signs:
- Voltage Overload: Connecting a 12V low-voltage light directly to 120V/220V mains power results in instant burnout. This is often evidenced by a burnt smell, blackened input wires, or exploded internal components visible through clear resin.
- Improper Transformer Usage: Using electronic transformers incompatible with LED loads can cause flickering or overheating. This is a system design error, not a light defect.
- Chemical Corrosion: If the plastic housing is brittle, discolored, or chalky, it indicates exposure to aggressive water chemistry (extremely low pH or high chlorine), which attacks the fixture material.
4. Diagnosing Water Intrusion: Cable Wicking vs. Seal Failure
Since resin-filled lights are solid, water cannot simply "leak in" through a gasket. The most common entry point for moisture in a failed unit is the cable. This phenomenon, known as capillary action or "wicking," occurs when the waterproof splice is not performed correctly.
If the cable connection is submerged without a proper IP68 joint, or if the cable jacket is cut inside a wet conduit, water travels up the copper strands and enters the light from the back. In a warranty inspection, if the internal copper wires are oxidized (green/black) while the outer resin seal appears intact, this confirms an installation error regarding the cable splice, not a manufacturing defect.
5. Best Practices for Distributors Handling Warranty Returns
To streamline the warranty process, distributors should establish a standardized inspection protocol. Before returning items to the factory, request photos of the installation environment, the transformer specifications, and the failed unit. Physical inspection should verify if the cable was cut too short or if there are signs of physical impact.
Educating customers on the requirement for magnetic transformers (for AC units) and proper underwater splicing kits can significantly reduce the rate of false warranty claims. Clear documentation of these distinctions protects the distributor's margins and ensures the manufacturer receives actionable data for quality control.
Comparison: Defect vs. Installation Error Indicators
| Symptom / Observation | Likely Manufacturing Defect | Likely Installation Error |
|---|---|---|
| Burn Marks / Blackening | Rare (unless internal short circuit) | High Voltage input (120V to 12V) |
| Water Inside Light | Resin separation from housing | Cable wicking (oxidized wires) |
| Housing Condition | Clean, intact | Corroded, cracked, chemical damage |
| Flickering | Bad solder joint / LED chip | Incompatible electronic transformer |
| Cable Condition | Intact jacket | Cut short, bad splice, nicked jacket |
Frequently Asked Questions
1. Does connecting a 12V pool light to 120V power void the warranty?
Yes. This is considered an installation error. LED pool lights are strictly low-voltage devices (usually 12V or 24V). Connecting them to mains voltage causes immediate catastrophic failure, which is easily identifiable during inspection and is not covered by manufacturing warranties.
2. Can poor water chemistry be considered a manufacturing defect?
No. If the light fixture shows signs of chemical corrosion, pitting, or brittleness due to imbalanced pH or excessive chlorine levels, this is classified as environmental misuse. Manufacturers guarantee the material quality, but not resistance to abusive chemical environments.
3. What is "cable wicking" and why is it an installation error?
Cable wicking occurs when water enters the cable through a cut end or a poor splice and travels up the inside of the wire insulation into the light. Since the breach occurred at the connection point (responsibility of the installer), any resulting damage to the light is considered an installation error.
4. How can I tell if a flickering light is a defect or a transformer issue?
Test the light on a known compatible power source (like a bench power supply or a magnetic transformer). If the light stabilizes, the issue was the original transformer (installation error). If it continues to flicker, it is likely a driver or chip failure (manufacturing defect).
5. What evidence should I collect for a warranty claim?
To expedite claims, provide clear photos of the front and back of the light, a close-up of the cable entry point, the specifications of the transformer used, and a description of the failure symptoms. Retaining the physical unit for potential factory inspection is also recommended.